介绍 so-vits-svc 是基于VITS的开源项目,VITS(Variational Inference with adversarial learning for end-to-end Text-to-Speech)是一种结合变分推理(variational inference)、标准化流(normalizing flows)和对抗训练的高表现力语音合成模型
环境
本文章使用的是腾讯云GPU计算型GN7,具体环境如下:
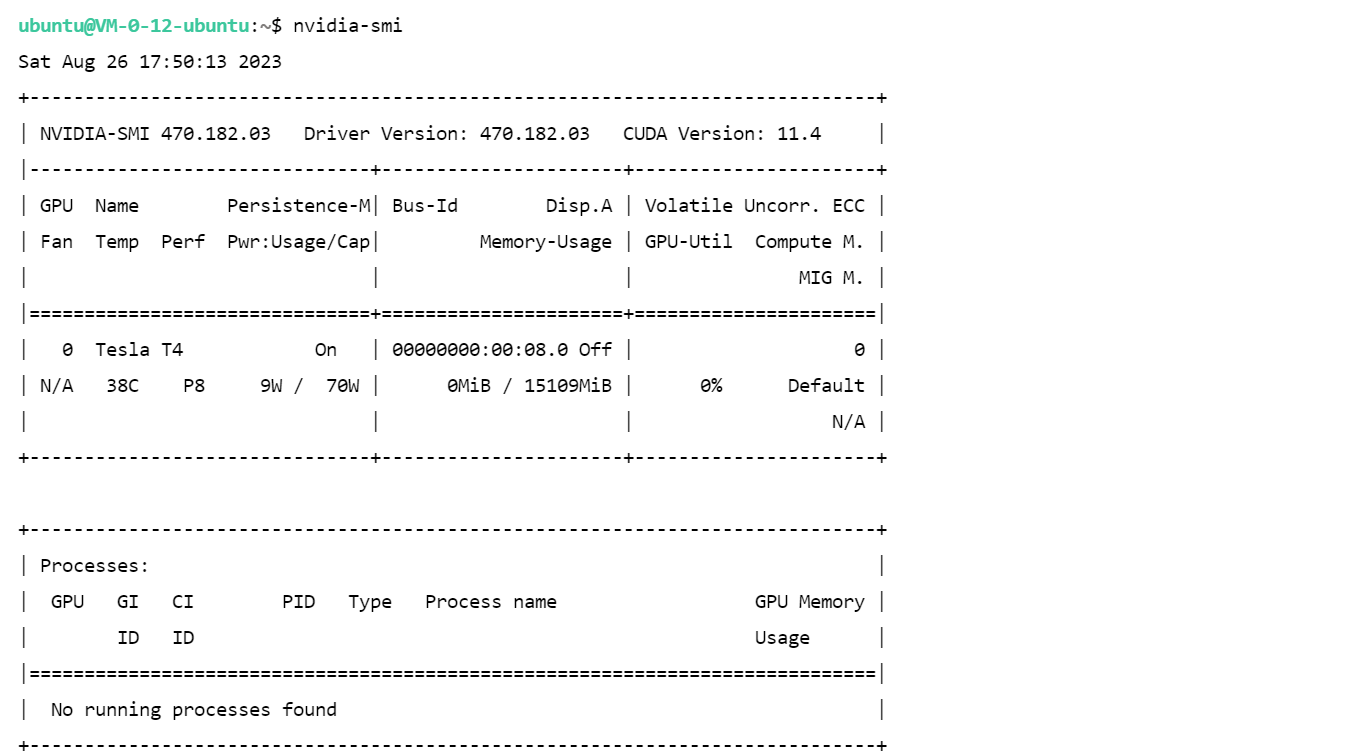
1 2 3 4 5 6 7 8 9 10 Ubuntu 22.04 LTS NVIDIA-SMI 470.182.03 Driver Version: 470.182.03 CUDA Version: 11.4 Python 3.10 Tesla T4 16G * 1 8核 32GB
音频处理
为了训练,我们需要将音频文件分离成人声和伴奏两个音轨,并将人声音频文件切分成10-20秒的音频片段。
使用Spleeter分离人声音轨
1
2
apt install ffmpeg pip install spleeter
1
2
3
4
5
6
7
8
9
mkdir spleeter && cd spleetermkdir rawmkdir pretrained_modelswget -P pretrained_models https://github.com/deezer/spleeter/releases/download/v1.4.0/2stems.tar.gz mkdir -p pretrained_models/2stemstar -zxvf pretrained_models/2stems.tar.gz -C pretrained_models/2stems/
测试分离人声
1 2 3 wget https://github.com/deezer/spleeter/raw/master/audio_example.mp3 spleeter separate -p spleeter:2stems -o output audio_example.mp3
1
2
3
4
output/ └── audio_example ├── accompaniment.wav └── vocals.wav
批量分离音轨
将需要分离的音频文件放到spleeter/raw目录下,然后执行下面的命令raw目录下的所有.wav文件分离成人声和伴奏两个音轨,并保存到spleeter/audio_output文件夹中
1
2
3
4
5
6
7
8
9
10
11
12
13
14
15
16
17
18
19
20
21
22
23
24
25
#!/bin/bash mkdir -p audio_outputfor file in raw/*.wav; do if [[ -f "$file " ]]; then echo "正在处理文件: $file " filename=$(basename "$file " .wav) spleeter separate \ -o audio_output \ "$file " \ -f "$filename " _{instrument}.wav fi done echo "分离完成!"
效果如下
1
2
3
4
5
6
7
8
9
10
ubuntu@VM-0-12-ubuntu:~/spleeter$ tree audio_output/ audio_output/ ├── 11_accompaniment.wav ├── 11_vocals.wav ├── 12_accompaniment.wav ├── 12_vocals.wav ├── 13_accompaniment.wav └── 13_vocals.wav 0 directories, 6 files
切分音频片段
执行下面脚本,将会从audio_output目录中的每个音频文件中提取出10-20秒的音频片段,并保存到clips目录中。
1
2
3
4
5
6
7
8
9
10
11
12
13
14
15
16
17
18
19
20
21
22
23
24
25
26
27
28
29
30
31
32
33
34
35
36
37
38
39
40
41
42
43
44
45
46
47
48
49
50
51
52
53
import librosaimport soundfileimport randomimport oscwd = os.getcwd() src_folder = os.path.join(cwd, 'audio_output' ) dst_folder = os.path.join(cwd, 'clips' ) if not os.path.exists(dst_folder): os.makedirs(dst_folder) for filename in os.listdir(src_folder): if filename.endswith("vocals.wav" ): audio_path = os.path.join(src_folder, filename) print (f"Processing {audio_path} ..." ) audio, sr = librosa.load(audio_path, sr=None , mono=False ) audio_trimmed, index = librosa.effects.trim(audio, top_db=20 , frame_length=2048 , hop_length=512 ) duration = len (audio_trimmed[0 ]) / sr total_samples = audio_trimmed.shape[-1 ] min_duration = 10 max_duration = 20 segment_duration = random.uniform(min_duration, max_duration) segment_samples = int (segment_duration * sr) for i in range (0 , total_samples, segment_samples): start = i end = min (i + segment_samples, total_samples) chunk = audio_trimmed[:, start:end] if len (chunk.shape) > 1 : chunk = chunk.T clip_filename = f"{os.path.splitext(filename)[0 ]} _{i//segment_samples} .wav" clip_path = os.path.join(dst_folder, clip_filename) soundfile.write(clip_path, chunk, sr)
开始训练
克隆存储库并安装依赖项
1
2
3
4
5
6
7
8
9
10
11
12
13
14
15
16
git clone https://github.com/svc-develop-team/so-vits-svc.git cd so-vits-svcpython3 -m venv myenv source myenv/bin/activatepip uninstall -y torchdata torchtext pip install --upgrade pip setuptools numpy numba pip install pyworld praat-parselmouth fairseq tensorboardX torchcrepe librosa==0.9.1 pyyaml pynvml pyloudnorm pip install torch torchvision torchaudio pip install rich loguru matplotlib pip install faiss-gpu pip uninstall omegaconf pip install omegaconf==2.0.5 pip install antlr4-python3-runtime==4.8 pip install antlr4-python3-runtime==4.8 pip install tensorboard
数据集准备
将上一步中生成的音频片段文件夹clips移动到so-vits-svc/dataset_raw目录下,目录结构如下:
1
2
3
4
5
6
dataset_raw ├───speaker0 │ ├───xxx1-xxx1.wav │ ├───... │ └───Lxx-0xx8.wav
speaker0 是合成目标说话人的名称。推理时需要用到该名称。
获取预训练模型
1
2
3
4
5
6
7
8
9
10
11
12
cd so-vits-svccurl -L https://huggingface.co/datasets/ms903/sovits4.0-768vec-layer12/resolve/main/sovits_768l12_pre_large_320k/clean_D_320000.pth -o logs/44k/D_0.pth curl -L https://huggingface.co/datasets/ms903/sovits4.0-768vec-layer12/resolve/main/sovits_768l12_pre_large_320k/clean_G_320000.pth -o logs/44k/G_0.pth wget -L https://huggingface.co/datasets/ms903/Diff-SVC-refactor-pre-trained-model/resolve/main/fix_pitch_add_vctk_600k/model_0.pt -o logs/44k/diffusion/model_0.pt curl -L https://huggingface.co/datasets/ylzz1997/rmvpe_pretrain_model/resolve/main/rmvpe.pt -o pretrain/rmvpe.pt curl -L https://huggingface.co/datasets/ylzz1997/rmvpe_pretrain_model/resolve/main/fcpe.pt -o pretrain/fcpe.pt
使用 contentvec 作为声音编码器(推荐)
vec768l12与vec256l9 需要该编码器
或者下载下面的 ContentVec,大小只有 199MB,但效果相同:
contentvec :hubert_base.pt
将文件名改为checkpoint_best_legacy_500.pt后,放在pretrain目录下
1
2
3
# contentvec wget -P pretrain/ https://huggingface.co/lj1995/VoiceConversionWebUI/resolve/main/hubert_base.pt -O checkpoint_best_legacy_500.pt # 也可手动下载放在 pretrain 目录
更多编码器请参考so-vits-svc
重采样至 44100Hz 单声道
自动划分训练集、验证集,以及自动生成配置文件
1 python preprocess_flist_config.py --speech_encoder=vec768l12
生成 hubert 与 f0
1
2
3
python preprocess_hubert_f0.py --f0_predictor=crepe
加速预处理 如若您的数据集比较大,可以尝试添加–num_processes参数:
1 python preprocess_hubert_f0.py --f0_predictor=crepe --num_processes 8
主模型训练
1 python train.py -c configs/config.json -m 44k
扩散模型(可选), 尚若需要浅扩散功能,需要训练扩散模型,扩散模型训练方法为:
1 python train_diff.py -c configs/diffusion.yaml
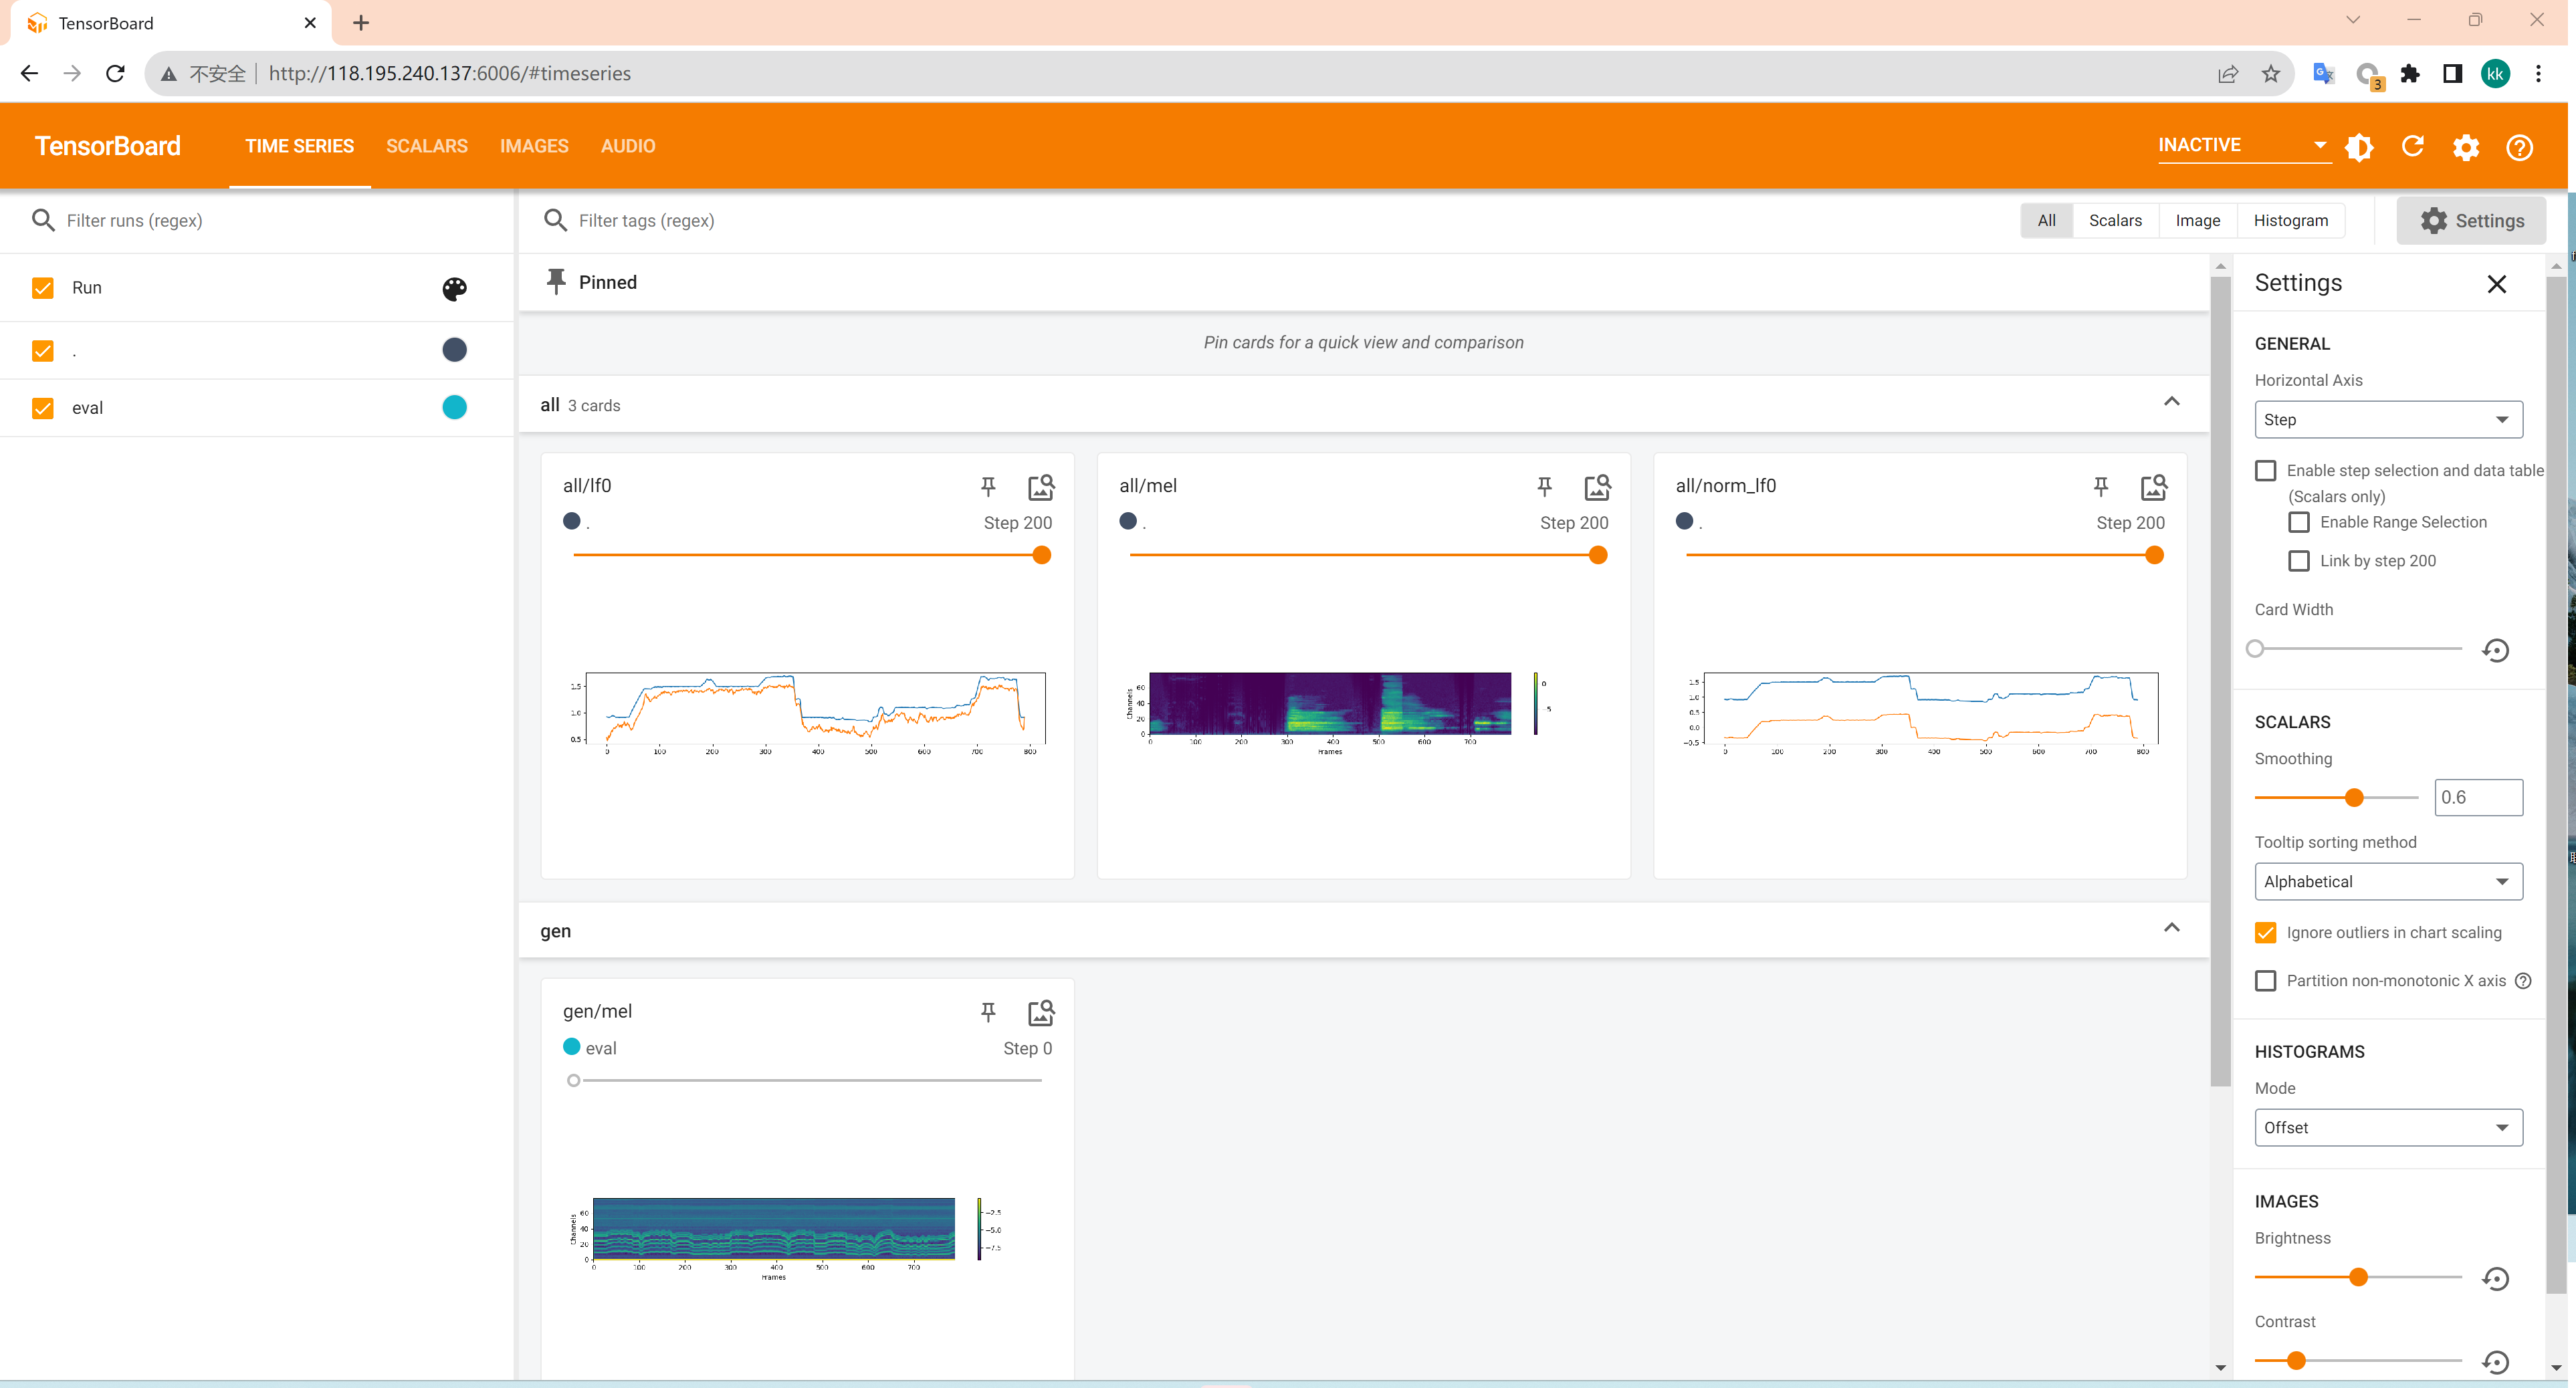
用tensorboard查看训练情况
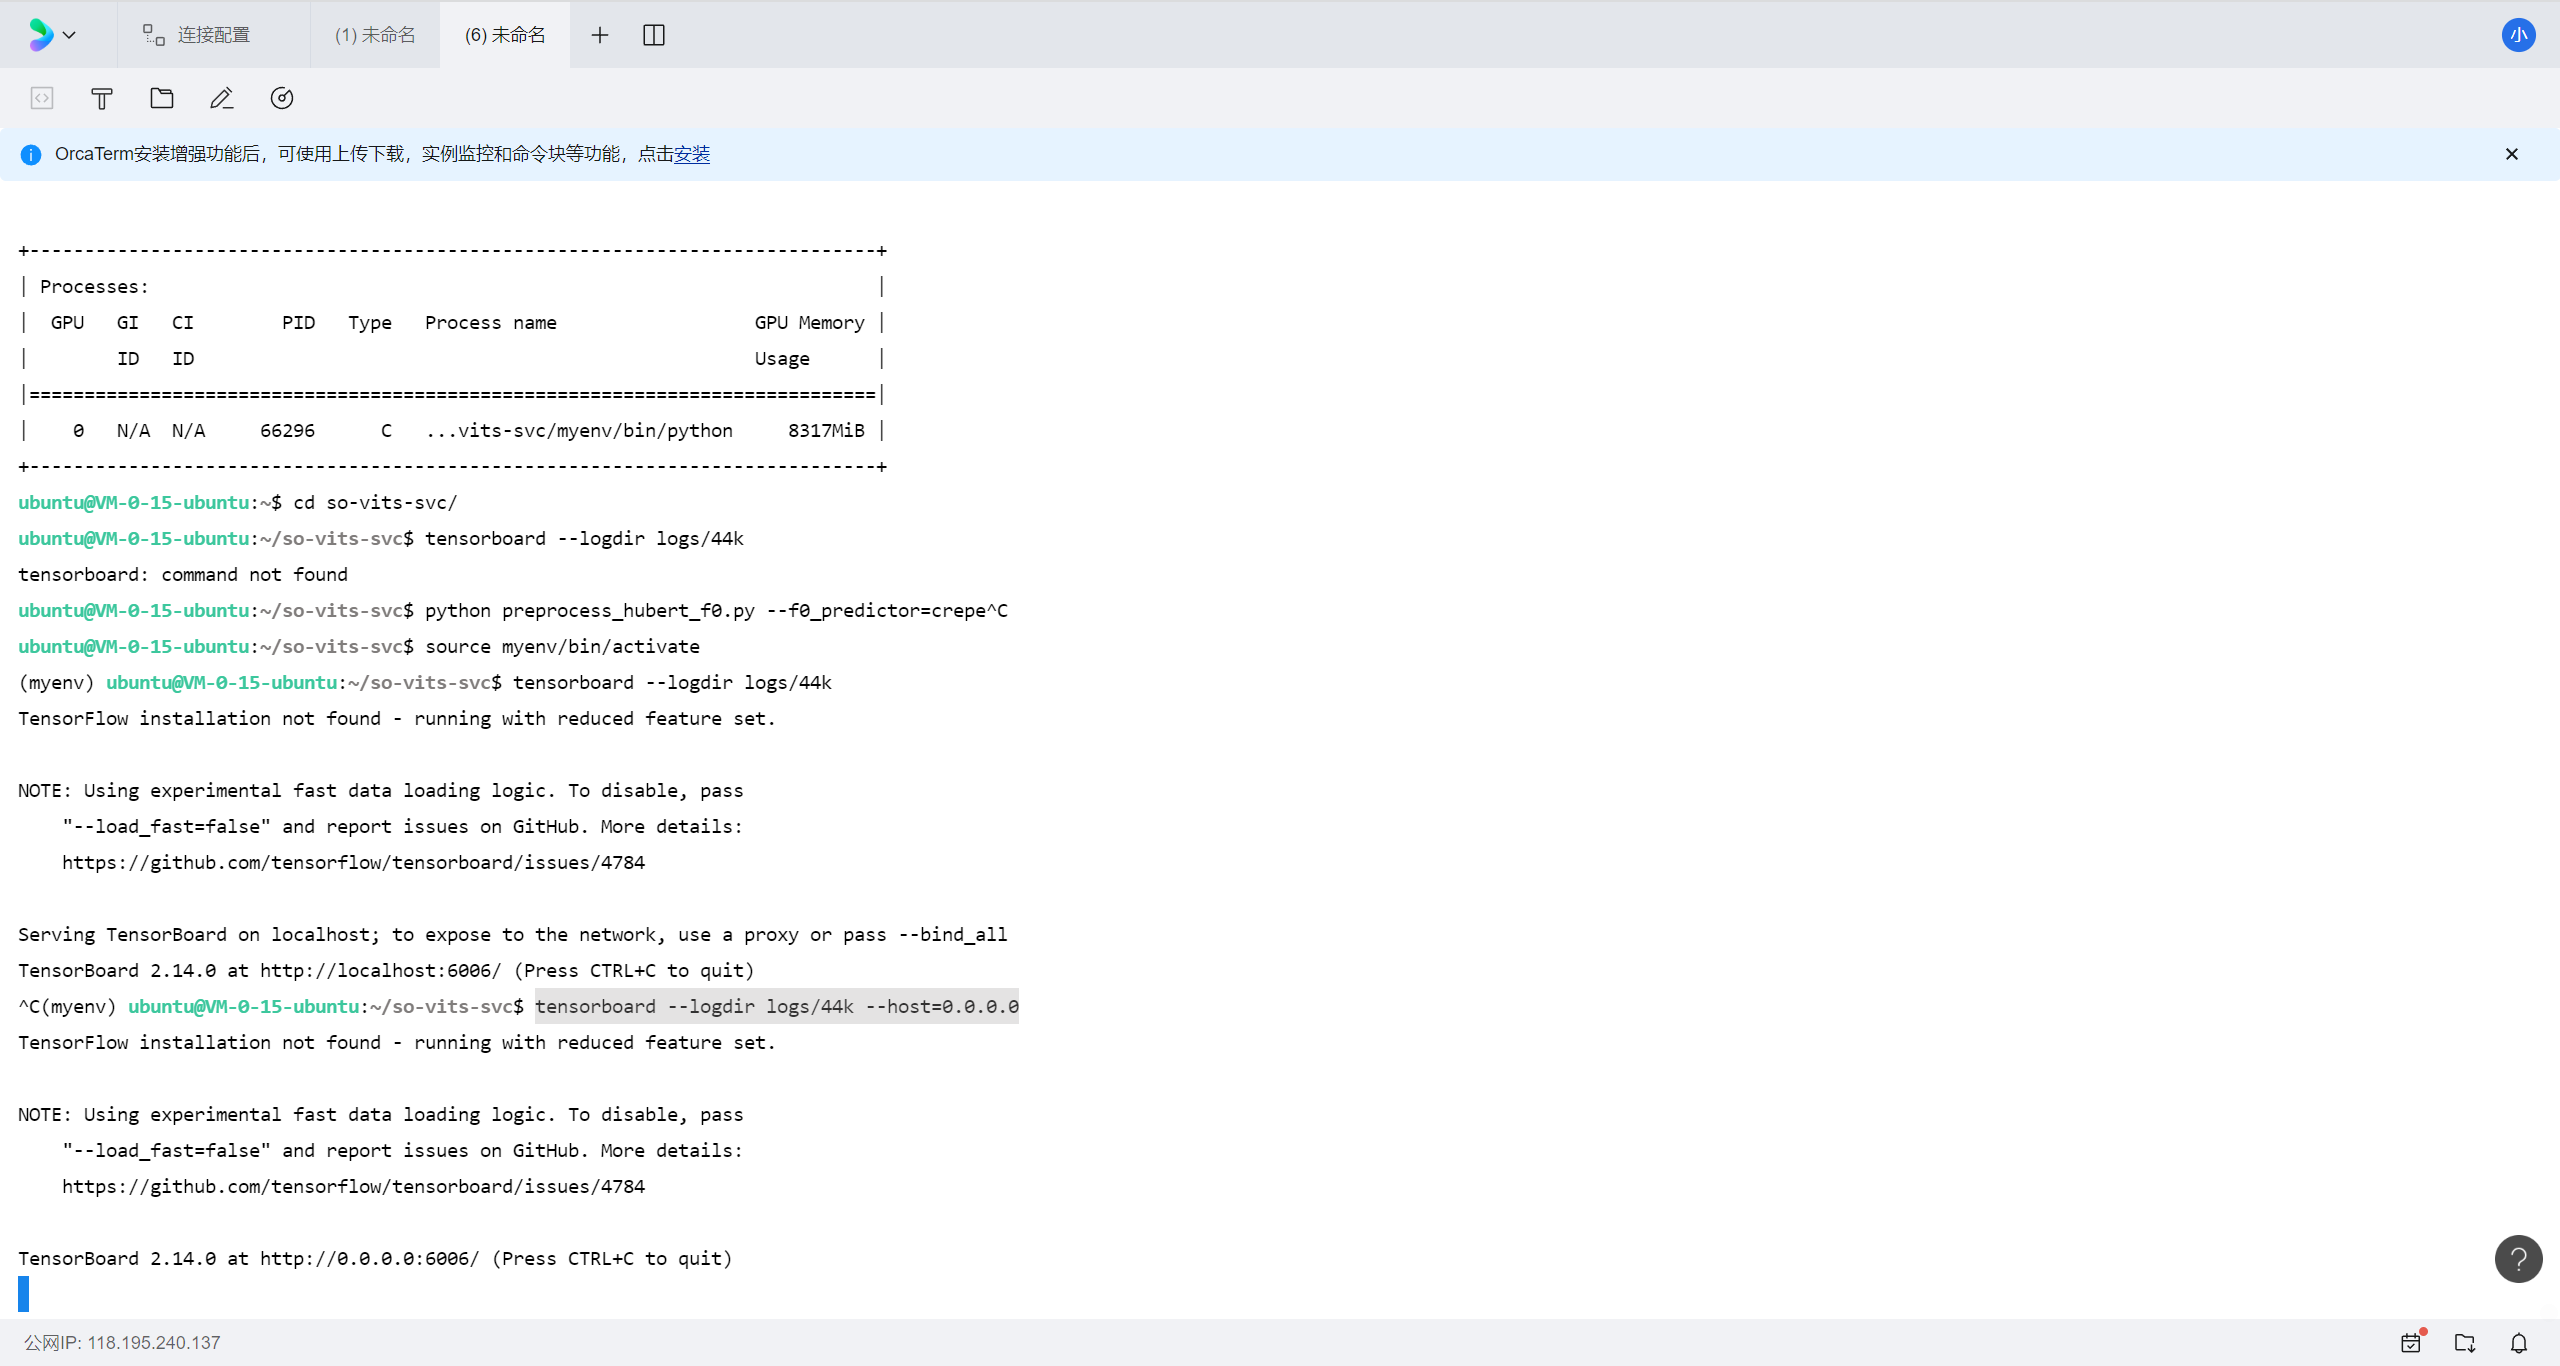
1 tensorboard --logdir logs/44k --host=0.0.0.0
聚类模型训练(可选)
1 python cluster/train_cluster.py --gpu
模型训练结束后,模型文件保存在logs/44k目录下,聚类模型会保存在logs/44k/kmeans_10000.pt,扩散模型在logs/44k/diffusion下 。
推理 (对配置要求不高可以用自己的电脑进行)
参数说明
1 2 python inference_main.py -m "logs/44k/G_30400.pth" -c "configs/config.json" -n "君の知らない物語-src.wav" -t 0 -s "nen"
必填项部分:
-m | --model_path:模型路径-c | --config_path:配置文件路径-n | --clean_names:wav 文件名列表,放在 raw 文件夹下-t | --trans:音高调整,支持正负(半音)-s | --spk_list:合成目标说话人名称-cl | --clip:音频强制切片,默认 0 为自动切片,单位为秒/s
可选项部分:部分具体见下一节
-lg | --linear_gradient:两段音频切片的交叉淡入长度,如果强制切片后出现人声不连贯可调整该数值,如果连贯建议采用默认值 0,单位为秒-f0p | --f0_predictor:选择 F0 预测器,可选择 crepe,pm,dio,harvest,rmvpe,fcpe, 默认为 pm(注意:crepe 为原 F0 使用均值滤波器)-a | --auto_predict_f0:语音转换自动预测音高,转换歌声时不要打开这个会严重跑调-cm | --cluster_model_path:聚类模型或特征检索索引路径,留空则自动设为各方案模型的默认路径,如果没有训练聚类或特征检索则随便填-cr | --cluster_infer_ratio:聚类方案或特征检索占比,范围 0-1,若没有训练聚类模型或特征检索则默认 0 即可-eh | --enhance:是否使用 NSF_HIFIGAN 增强器,该选项对部分训练集少的模型有一定的音质增强效果,但是对训练好的模型有反面效果,默认关闭-shd | --shallow_diffusion:是否使用浅层扩散,使用后可解决一部分电音问题,默认关闭,该选项打开时,NSF_HIFIGAN 增强器将会被禁止-usm | --use_spk_mix:是否使用角色融合/动态声线融合-lea | --loudness_envelope_adjustment:输入源响度包络替换输出响度包络融合比例,越靠近 1 越使用输出响度包络-fr | --feature_retrieval:是否使用特征检索,如果使用聚类模型将被禁用,且 cm 与 cr 参数将会变成特征检索的索引路径与混合比例
浅扩散设置:
-dm | --diffusion_model_path:扩散模型路径-dc | --diffusion_config_path:扩散模型配置文件路径-ks | --k_step:扩散步数,越大越接近扩散模型的结果,默认 100-od | --only_diffusion:纯扩散模式,该模式不会加载 sovits 模型,以扩散模型推理-se | --second_encoding:二次编码,浅扩散前会对原始音频进行二次编码,玄学选项,有时候效果好,有时候效果差
推理
下面以孙燕姿的模型 为例,演示如何使用 so-vits-svc 进行音色转换
模型地址:孙燕姿模型
先看效果
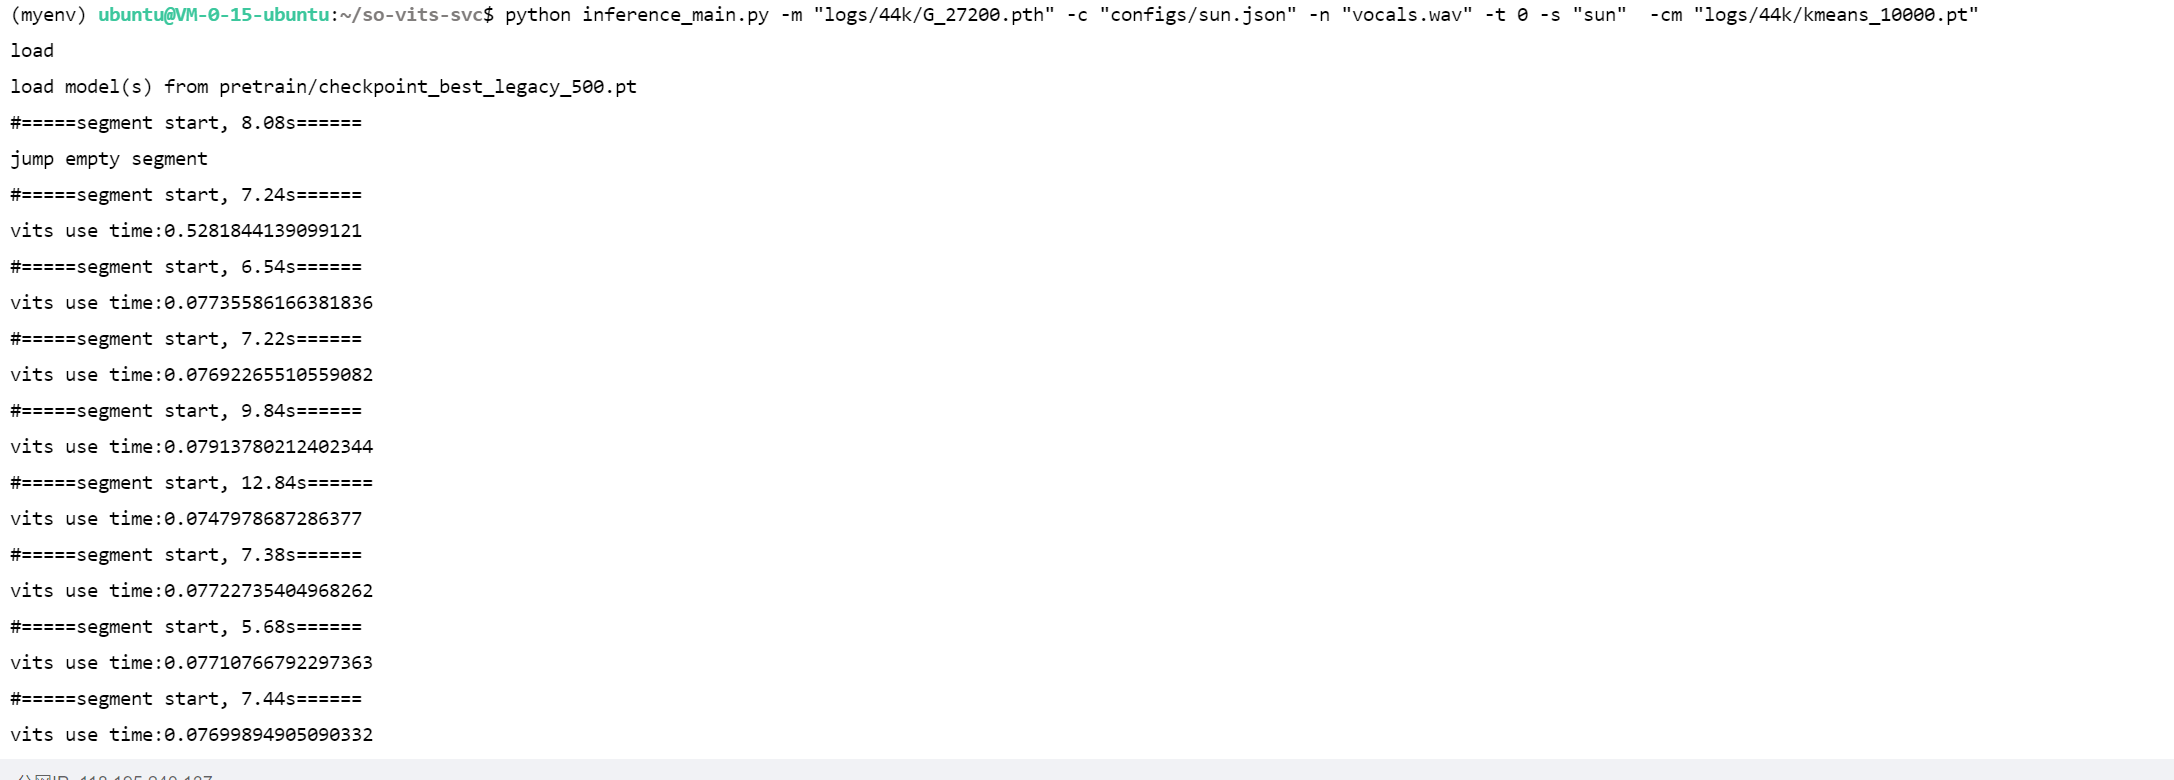
1 2 3 spleeter separate -o raw 人来人往.wav -f 人来人往_{instrument}.wav python inference_main.py -m "logs/44k/G_27200.pth" -c "configs/sun.json" -n "人来人往_vocals.wav" -t 0 -s "sun" -cm "logs/44k/kmeans_10000.pt"
logs/44k/G_27200.pth为主模型configs/sun.json为配置文件人来人往_vocals.wav 为raw目录下待转换的人声音频文件sun为目标说话人名称(configs/sun.json中的spk对应的vlaue)logs/44k/kmeans_10000.pt为聚类模型
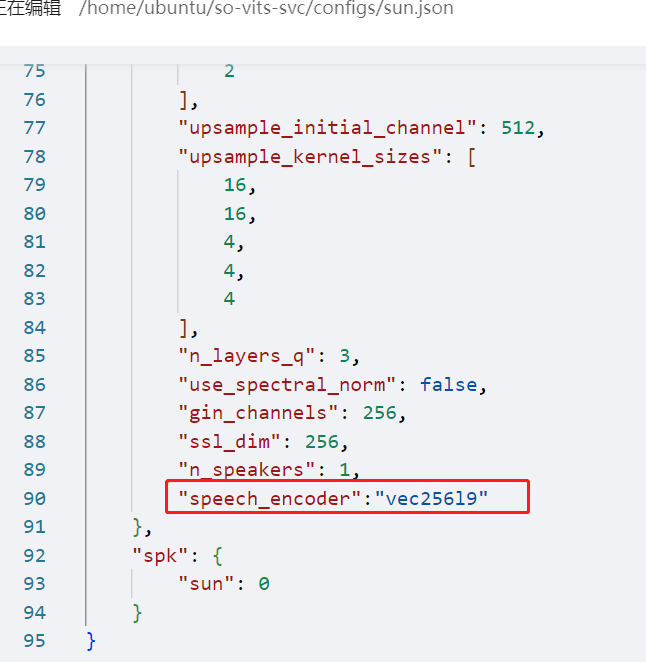
分享的孙燕姿模型 由于是4.0版本的,需要在 config.json 的 model 字段中添加 speech_encoder 字段,具体如下:
1
2
3
4
5
6
"model" : { ......... "ssl_dim" : 256 , "n_speakers" : 200 , "speech_encoder" : "vec256l9" }
合并人声与伴奏
1 ffmpeg -i 人来人往_accompaniment.wav -i 人来人往_vocals.wav_0key_sun_sovits_pm.flac -filter_complex amix=inputs=2:duration=first:dropout_transition=3 output.wav

